Marker Color Chart Bookmark For Adult Coloring Books!
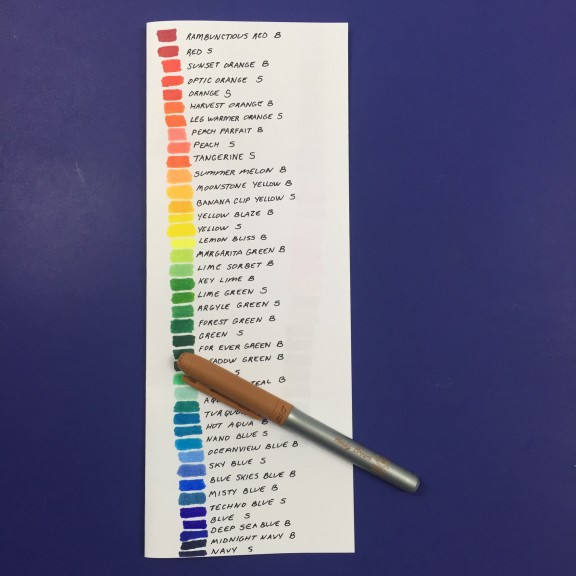 Make this easy marker color chart and you will always have color samples of your markers on hand! In an hour or so your marker identification problems will be over! It’s going to be life changing! Well, okay, maybe not. But you’re going to love this simple and easy to make tool. Here’s how.
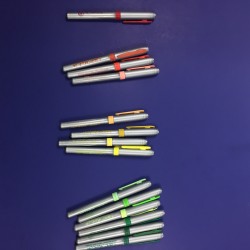 Organize markers by color. Take some time to organize your markers according to color. Spread them out on your couch or a table. I divided mine into the following categories – reds, oranges, yellows, green, blues, purples, pinks, browns, and I combined blacks and greys. Organize yours in whatever way makes sense to you.
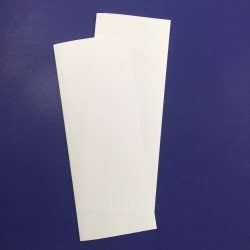
Fold two pieces of paper lengthwise. Put one folded sheet inside of the other. You will write on the “outside” paper and the “inside” piece of paper will soak up the marker bleed through.
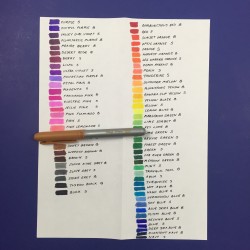
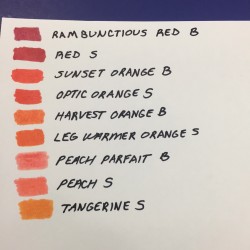 Color and name swatches. Color small swatches vertically on the left hand side of the outside paper and write the name of the marker next to the color swatch. If you make a mistake, don’t worry about it. You will have another chance to get it right. Depending on how large your color swatches are, and how large you write, you should be able to get about 36 color samples on one side of the paper. If you have more than 36 colors, just flip the paper over and continue your swatches on the opposite side of the outside sheet of folded paper. If you use Sharpie markers and don’t know the name of them, use my Sharpie Colors article to identify each marker color (you can even take the extra step by writing the Sharpie names on small stickers and then putting them on your marker lids, if you are just a little too organized – okay, yes my Sharpies all have name stickers on them). I also added “B” for my Bic markers and a “S” for my Sharpies. Be sure to divide the sample swatches by color. For example, start with your reds, then oranges, yellows…etc. If you don’t have many markers you can also order your colors by shade right now, starting with the darkest shade of each color and working down to the lightest. If you have don’t care about dividing by shade, or if you have actually managed to divide by shade accurately on your first try, you are done! If you are like me and have too many markers to accurately guess their shades, then continue to the next step. This is where you get that second chance to get it right.
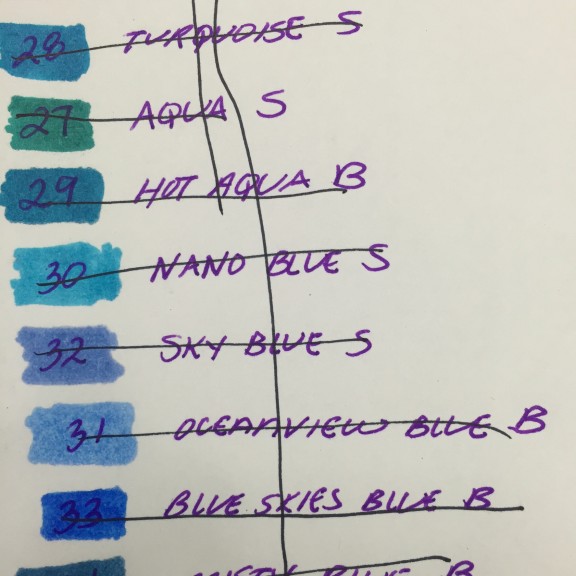
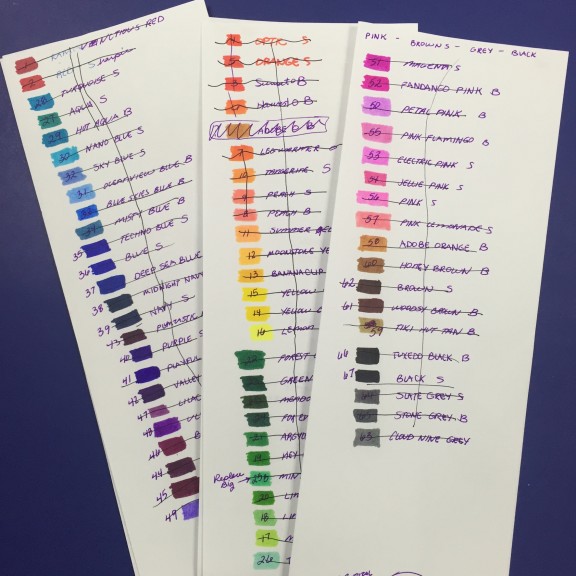 Number swatches by shade. Because I couldn’t guess the shades of all of my markers accurately, I needed to go back and then number them in the order I wanted them to show up on my final marker color chart (obviously, I used three pieces of paper to do this). Again, if you don’t care if your swatches are in order of shade, then you don’t have to bother with this step. Personally, since I am combining Sharpies and Bic Mark-It markers and I wanted to see how the different shades compared to each other I chose to take this extra step on my marker color chart.
Fold another piece of paper. Just like you did before, fold another piece of paper in half lengthwise and insert the “inside” bleed through paper into this new piece of folded paper. This will be your “final” marker color chart.
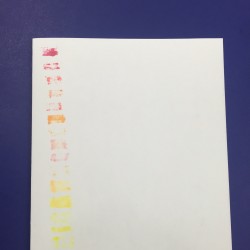
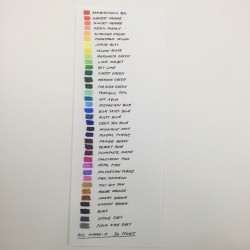
Order swatches by color and shade. Just as you did on the first piece of paper, color the swatch and then write the name next to it. This time, though, place your markers in the correct order according to color and shade. Chances are, this marker color chart will be neater because you will have a better idea of spacing. I would also suggest that you color a swatch and then write the name down immediately. I thought it would be quicker to do all of the swatches and then go back and write down the names. I was almost done before I realized I was one off – sort of like being one button off on a shirt. So I had to start all over. The second time I also crossed off the colors as I placed them on the sheet. I didn’t want to get all the way through and realize I left one out and then have to start all over again! Once you have all colors labeled, discard your “bleed through” sheet. I had to use both sides of the sheet and the image above on the left is how my marker color chart looks when it is unfolded. I keep it folded to use as a bookmark. The marker color chart above on the right is how your marker color chart might look if you charted the 36 pack of Bic Mark-It markers.
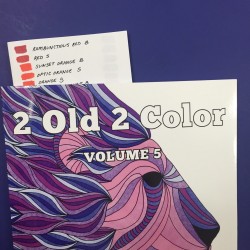 Place your marker color chart bookmark in your favorite coloring book! Now you have a handy bookmark that will prove useful time and again. I even use my marker color chart for inspiration when I am trying to decide what colors to use. There is something about looking at the actual color swatches that inspires me. I hope you are inspired, too! Happy coloring!

 2 Old 2 Color:
 2 Old 2 Color:
  2 Old 2 Color:
 2 Old 2 Color:
  2 Old 2 Color:
Leave a Reply